Pages

Sunday, December 6, 2015

How to Make an Acrylic LED Sign

I made a remote-controlled Acrylic LED Sign for my neighbor down the street.  He's the owner of  "Rob's Wood Shop - Daycare for Adults".  Check it out!


I opened Rob's logo in InkScape and used the Trace Bitmap option to convert it to vector art, then deleted the raster copy and saved it as an SVG file.  I imported the SVG file into the Inventables EASEL application and flipped it horizontally so it would be reversed, because all of the LED signs I've seen have the logo carved into the back of the sign.


Rob provided the acrylic sheet that was leftover from another project.  I used the ShapeOko2 to carve the logo about .01" deep into the acrylic.  It worked great and required very little clean up.  When working with acrylic, you must be very careful not to scratch it, because every little scratch will show up when the sign is lit.


I ordered this LED Light Kit and I waited to receive it before building the base, since part of the base design required me to measure the light strip width and thickness.


Here are the basic steps for making the base.  You may need to adjust the measurements depending on the size of your sign and the LED light strip.
  1. I cut two 3/4" strips of 1/2" walnut that were the same length as the sign.  
  2. I cut one 3" strip of 1/2" maple that was about 3" longer than the sign.  
  3. I used the Inventables X-Carve to route an 1/8" deep groove in the center of the board to receive the LED light strip.  The groove is about 1/2" shorter than the sign so that the corners of the sign will rest on the surface of the maple with the LEDs recessed under it in the middle.  A 7/16" hole was drilled partially through the board on one end of the groove for the wiring.  (You could do the same thing with a router and a drill press.)
  4. I drilled a 7/16" hole from the rear of the base into the previous hole for the electrical wire to pass through.
  5. I cut two small end pieces of walnut and glued all of the pieces together, making sure the sign will fit snugly in the middle above the recessed LEDs.
  6. I sprayed the base with Watco Clear Gloss Spray Lacquer.  Once the finish dried, I peeled the backing off the LED strip and stuck it down into the recess so it was centered.


I inserted the sign, plugged in the electronics, and used the remote control to test it out.  It's so cool!  I like being able to turn it on/off and control the colors with the remote.  I think my neighbor will love it.  Now I want to make one for myself!


Wednesday, December 2, 2015

Sidebar Conversation - 40k Subscribers, Drumhead Frame, Cornhole Boards, Fan Repair, Video Woodworkers Booth

I haven't done a Sidebar Conversation in over 2 months, so here's a quick shop update about something awesome that just happened, plus I follow up on my most recent projects.


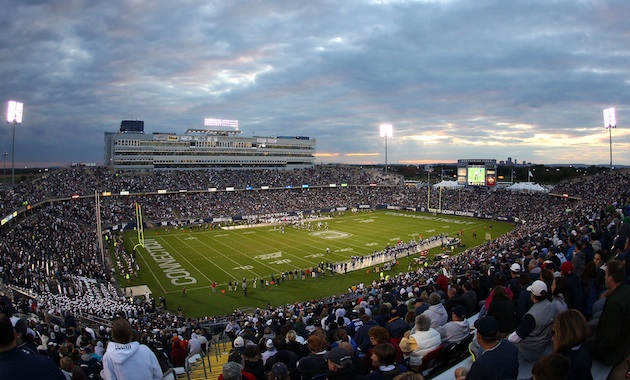
This week my YouTube channel surpassed 40,000 subscribers!  Thank you all for subscribing to my channel and watching my videos.  I really appreciate it.  I look at the number of subscribers as a reflection of the content I produce, so it's a neat feeling to know that so many people appreciate what I do.  We could fill up the UConn stadium and have a party!


I was hanging out with Nick Ferry a few nights ago and he mentioned we were going to reach this big round 40k number on the same day, so congratulations to Nick as well for this accomplishment.  Check out Nick's woodworking channel and subscribe.  We both started with zero subscribers years ago and somehow ended up here.  Below is one of my favorite project videos from Nick.  His Table Saw Sled design is full of awesome ideas and he has a complete tutorial with plans available at NickFerry.com.  I got to meet Nick in person at WIA 2015 and he's a fun guy to be around.  His passion for providing great content is inspiring.


Drumhead Frame - In my last video, I framed a drumhead that my son kept from his big day marching in the Macy's Thanksgiving Day Parade last year.  I posted a picture of us holding it on Instagram with a GSU hashtag and it ended up on the jumbotron at the recent Georgia State football game.  Too funny!  (Now I know what hashtags can be used for.)


Cornhole Game Boards - The cornhole boards I made for my niece's wedding were a big hit.  All of the guests signed them.  Now I need to test some different clear coat products to see which one will protect the Sharpie ink without making it run.  I will be making a video of this test, so watch for that coming soon.


Fan Repair videos - Did you see all of the fan repair videos?  Matthias Wandel and John Heisz showed me how to fix my fan that was stuck.  After fixing it with 3-in-1 oil, it worked for a few days then got stuck again.  I took it apart and cleaned it up, and sprayed it with Blaster Silicone Lube and it is still spinning great.  I recommend that stuff.


Video Woodworkers Booth - The next booth will be in my hometown of Atlanta on April 1-3 at The Woodworking Show.  I would love to meet you in person if you can attend this show.  Visit VideoWoodworkers.com for updates and information on who will be there!  I'm looking forward to hanging out with Nick again at this event...I think he's going to visit my shop too!


If you are new to my channel and stumbled upon this Sidebar Conversion, please check out some of my other videos and subscribe!  I usually make fun woodworking projects on my wife's side of the garage.  Here's a picture of me with my buddy Nick, photobombed by Chop with Chris!  LOL